Install ISON in Standard Eclipse
Introduction
The ISON Eclipse plugin can be installed as part of the devstack (all-in-one developer stack) or separately in a standard Eclipse installation. This guide covers separate installation.
When to Use Each Approach
| Use Devstack | Install ISON Separately |
|---|---|
| Single developer, Windows-only | Multi-developer teams |
| Learning/demo projects | Linux-hosted servers |
| All-in-one local setup | Remote server connection |
| DTAP workflows (see guide) |
Key distinction: ISON is required for repository management and comet projects. Java development tools (Eclipse, Payara) are only needed if you're developing custom plugins. Installing ISON separately allows you to connect from your local machine to remote publishing server instances on any platform.
1. Step 1
To install the ISON plugin in a standard Eclipse the following steps have to be done:
a) The use of the ISON plugin is only officially supported on Windows. Usage on macOS or Linux works without known restrictions, please contact our support in case of complications.
b) The latest version of the ISON Plugins is distributed as part of the 4.7.x Distribution.
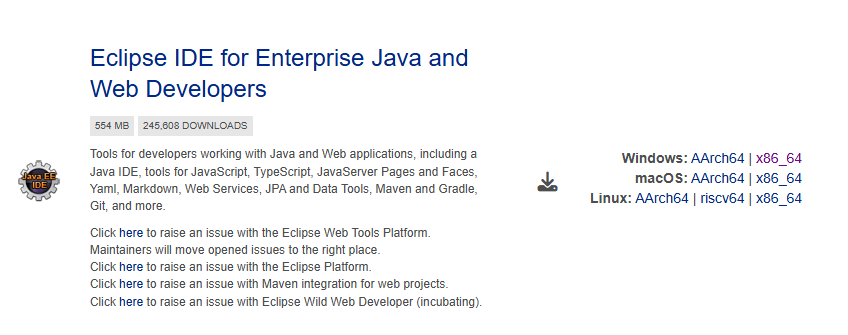
c) Download and install Go to https://www.eclipse.org/downloads/packages/ and install "Eclipse IDE for Enterprise Java and Web Developers"
d) As of now the ISON Eclipse plugins have a dependency on a bundle that is no longer distributed. Please download it separately and install it in your machine for ISON to work without flaws.
e) Copy the downloaded JAR to the dropins directory of your Eclipse installation (a directory which should be used for manually installed plugins instead of the plugins directory)
Windows:
open the folder where you have extracted Eclipse, open the subfolder eclipse\dropins
MacOS:
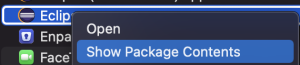
open the folder where you have copied Eclipse, right-click on Eclipse.app and select “Show package content” from the popup menu. Open the folder Contents/Eclipse/dropins
f) Open Eclipse
2. Step 2
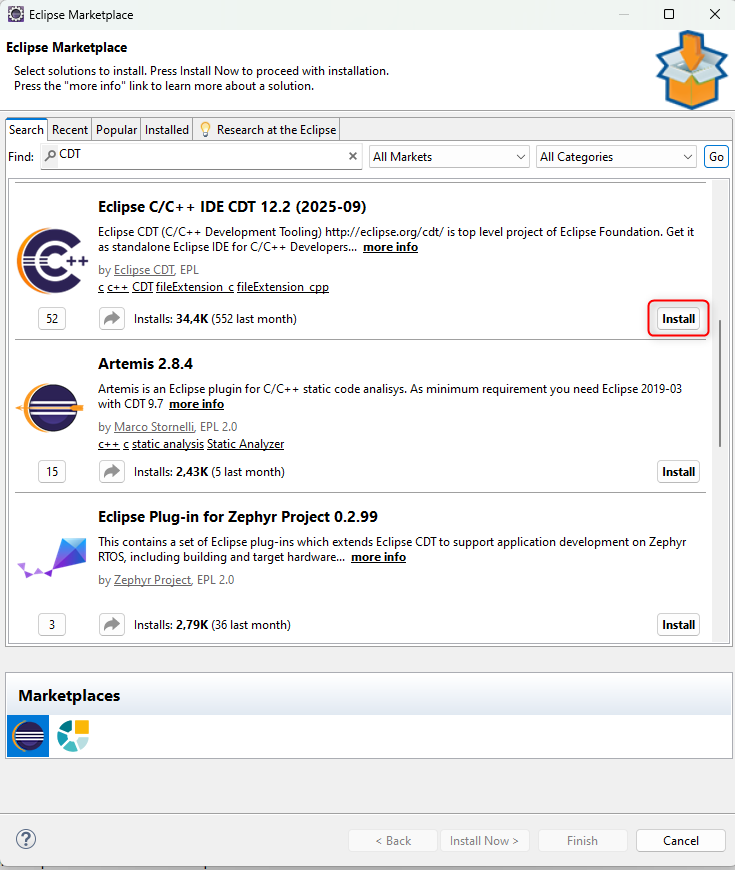
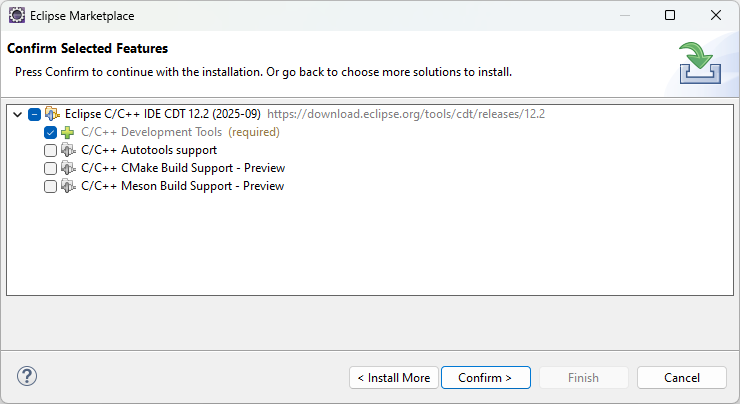
Go to: Help -> Eclipse Marketplace -> Search for "CDT" -> Click on Install -> Only Install Developer Tools (required)
3. Step 3
3.1. Download ISON jar file
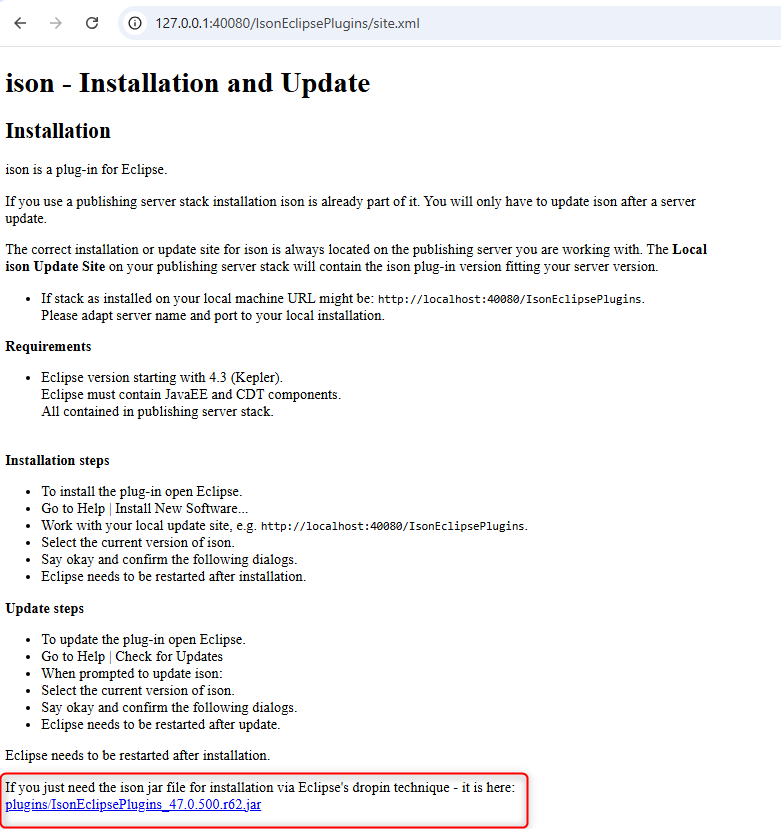
Download ISON jar file from the PubServer ISON Information page: http://<host>:<port>/IsonEclipsePlugins/site.xml
3.2. Install ISON using the Dropins Folder
3.2.1. Windows (Recommended)
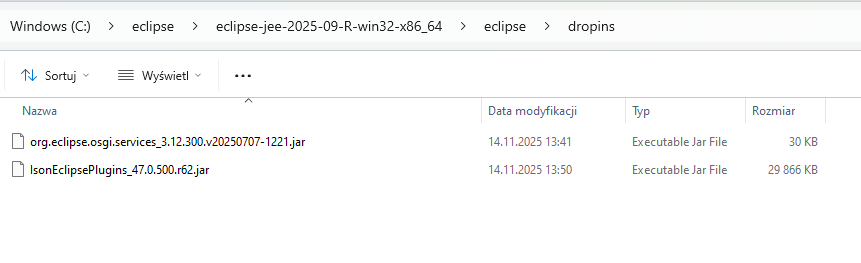
Go to the installation directory of Eclipse and place the jar file into the dropins directory.
3.2.2. macOS (Please see disclaimer above)
Open the package contents of your Eclipse installation
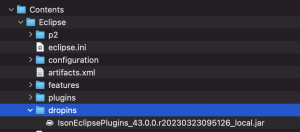
Place the plugin into the dropins directory
3.3. Restart Eclipse & Add Perspectives
Restart Eclipse for the changes to take effect. Afterwards you can add the perspectives.
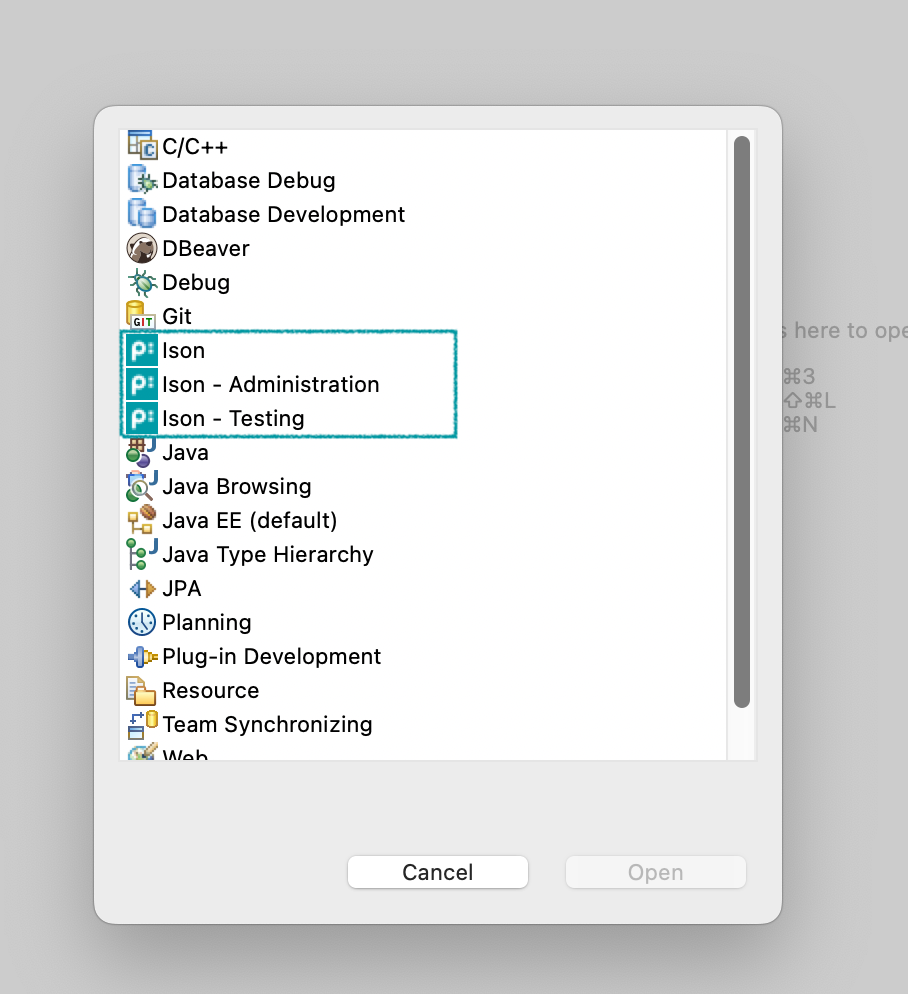
In the top right corner of Eclipse press the Button Open Perspective

Next select the ISON perspectives you need.
4. Next Steps
Now that you have installed ISON in Eclipse, you can use it for different purposes depending on your needs.
4.1. Using ISON for Repository Management
If you want to use Eclipse with the ISON plugin to manage repository content (JCR), configure entity models, work with comet projects, or edit configurations:
See the ISON Eclipse Plug-In User Guide for detailed instructions on how to connect to your priint:suite repository and use the ISON plugin features.
4.2. Using Eclipse for Java Plug-in Development
If you want to use Eclipse for developing publishing server Java plug-ins:
See Setting Up the Development Environment for detailed instructions on configuring your Eclipse installation for Java development.
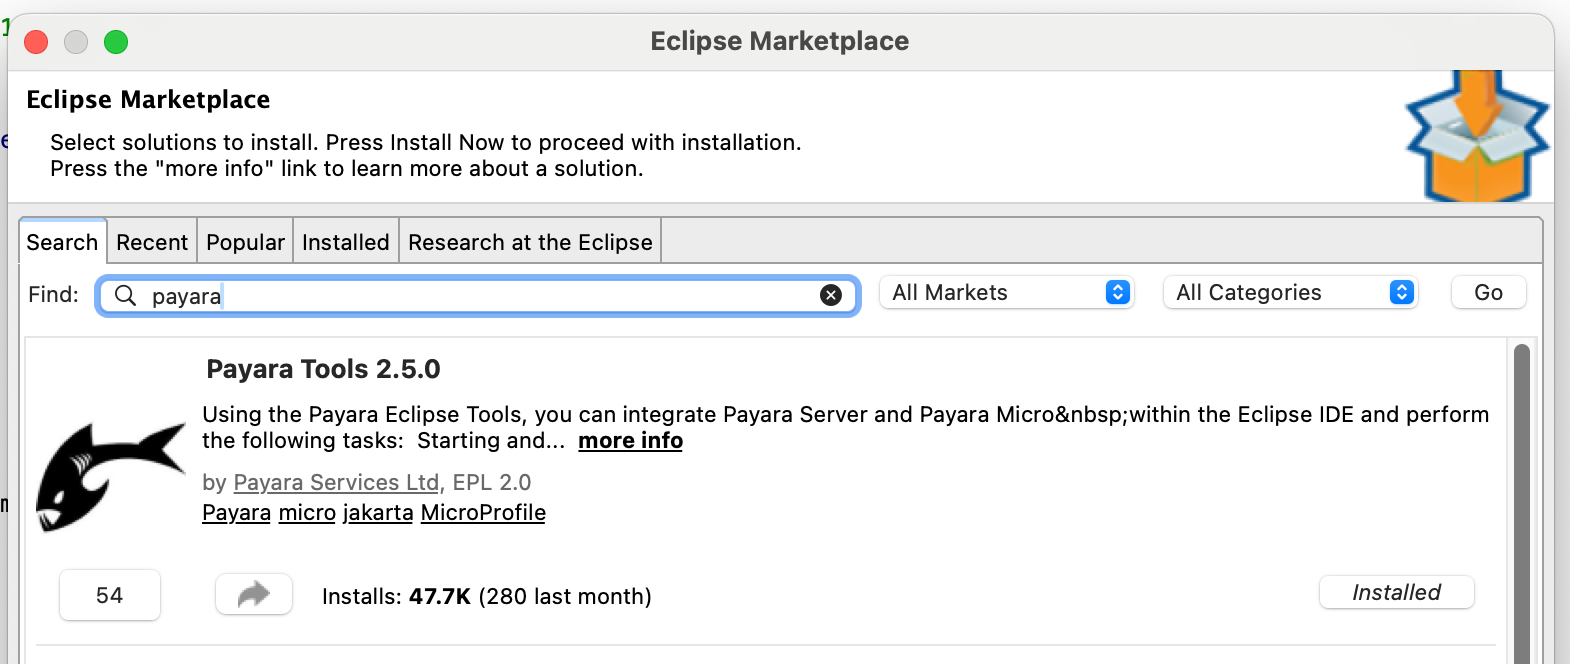
For Java plug-in development, we additionally recommend installing the Payara Tools (or GlassFish Tools if using an older version) from the Eclipse Marketplace. This will allow you to deploy and debug your plug-ins directly from Eclipse.
Go to Help > Eclipse Marketplace and search for Payara. Install the Payara Tools.